Royalty Free Music for video:

Tuesday, 22 October 2013
Music For Video
When sourcing music for your video, be aware that copyright laws prohibit the use of someone elses work without their permission. Often this is very expensive. So unless you plan on creating the music yourself, the best option is to use royalty free music. Here are several sites that have plenty to offer...
Royalty Free Music for video:
Royalty Free Music for video:

Friday, 11 October 2013
Final Cut Pro Basics
Cutting:
Press B on the keyboard to bring up 'Blade Tool'. Using the playhead (the slider) as a ruler, hover the mouse over the slider and the blade will snap to its position. Then simply cut through the footage. Press A to revert to normal mouse mode and click and delete unwanted footage

Adding Effects:
Select the Effects Tab (top left of the FCP layout). Here you can select a variety of different effects, both Video and Audio to add to your footage, fade outs , dissolves etc. Simply click the effect you want and drag it onto the footage. For instance if you want to dissolve between 2 shots, drag the effect BETWEEN 2 shots and the effect will lay itself across both. It can be stretched out to make the effect last longer, or shorter.

Adding Text:
To Add Text, find the small A symbol located at the bottom of the VIEWER panel. Follow the items through to plain Text. (other options are available such as scrolling text for credits, or typewriter text) A screen saying 'SAMPLE TEXT' will appear. In the CONTROL tab you can change the presets, change the text, size, font, colour etc. Once you have your title, click back to VIDEO tab (just to its left) and literally click and drag the title onto the timeline. Make sure its above your footage, then you can move it around, resize etc.


Exporting:
Once your movie is finished. Click on FILE > EXPORT > QUICKTIME MOVIE.
It will ask you to save your completed film, follow the network through to YOUR individual folder and save your finished film with a logical name, i.e the members of your group + the task name (e.g Sophie, Ollie - AS Camera Practical)

Tuesday, 1 October 2013
Shooting Tip- Make a Sandwich
When shooting, it's important to record a bit of extra footage either side of your desired action to give yourself lots of room for editing. These are called "handles".

The handles get trimmed out in the editing suite, but then you've made sure you have the entire scene within the clip as well as having space to add transitions (as seen here).
Monday, 30 September 2013
Super 8 Effect
A few students have asked about creating an old film look, below is a test video we made to give you an idea of what you can achieve.
The video started out as regular HD footage. To create the effects in the video, we have simply applied a series of filters and effects such as:
-Bad Film Effect (for the grain,dust, scratches)
-Bad TV Effect (for the rolling motion)
-Earthquake Effect (to give vertical shake)
-Strobe Effect (gives the footage a juddery quality)
-Colour Correction (Gives the film a sepia looking tone)
-Colour Correction (Gives the film a sepia looking tone)
-Film Burn (The purple/orange bursts of light)
If you're interested in creating a look like this for your film, or other effects come and see myself Ollie or Sophie in the edit suite to talk through your ideas.
Thursday, 26 September 2013

Monday, 23 September 2013
How to screen capture on the Mac
Step 1.
Once you found whatever it is you want to capture an image of, hold down CMD > SHIFT > 4 on the key board

This will bring up a set of Cross hairs. Using the crosshairs, click and drag a box over what you want captured.
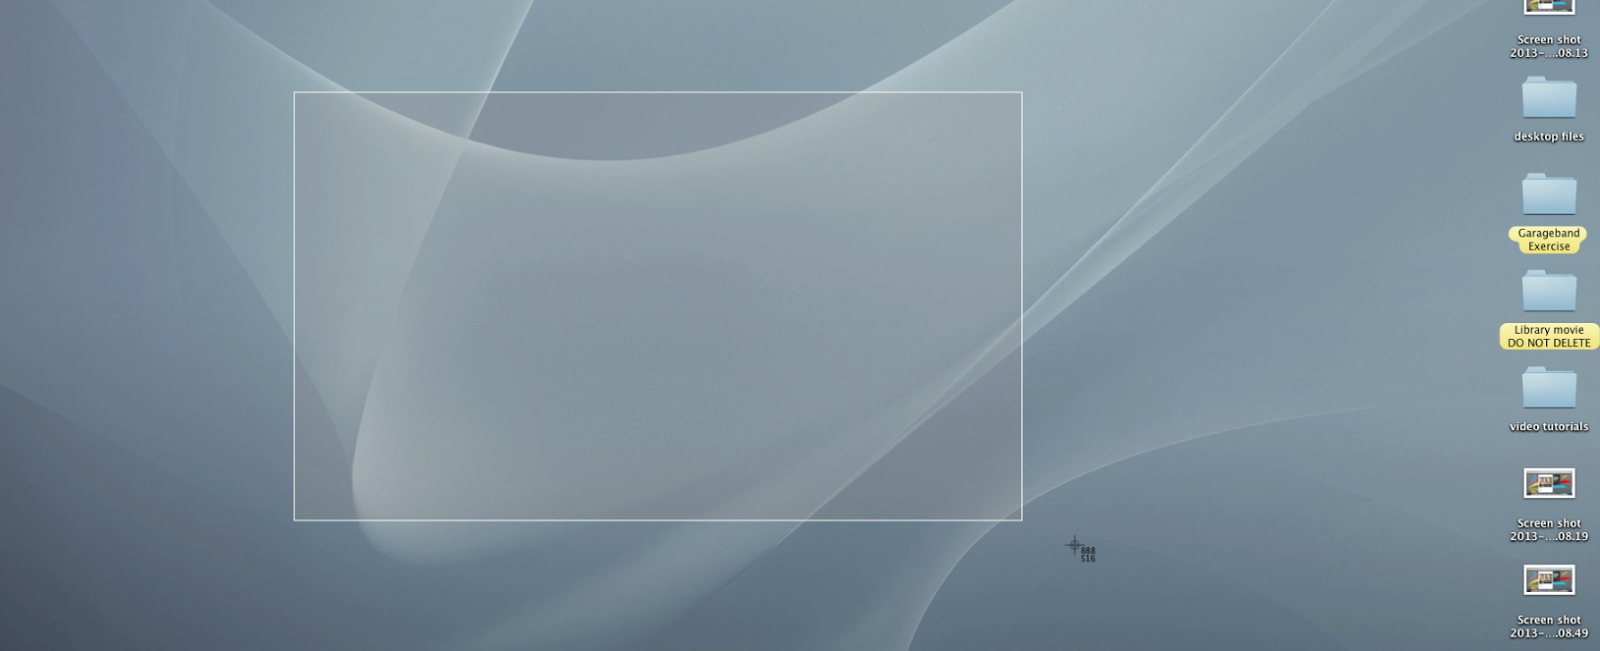
When you are ready to capture, simply release your finger off the mouse and this will take a 'photo'. The photo will be sent to the desktop as PNG file ready for you to import into BLOGGER.
REMEMBER
TO MAKE A SELECTION: CMD > SHIFT > 4
TO CAPTURE THE WHOLE SCREEN: CMD > SHIFT >3
How to print screen and save as JPEGS for use on Blogger (PC)
Step 1.
Once you have found the website/image/text you want to print screen, tap the PRT SCRN button on the keyboard. (If it's just an image you want off a website however, you can simply RIGHT CLICK and SAVE AS)

Step 2.
Open up Photoshop and create a new document


Select International Paper and create an A4 document
Step 3.
Hold down CTRL-C to copy what you have just Print Screened into Photoshop

Step 4.
Crop the image


Once you have set the Crop perimeters, hit ENTER
Step 5.
Now you're ready to save your image. Go to FILE > SAVE AS

Set the destination folder to somewhere in your J: Drive. Name your file and make sure the format is set to JPEG.

Finally adjust the quality, Medium is fine around 5 or 6 and click OK. Now you can Import your image into Blogger.
Subscribe to:
Posts (Atom)